
Tech Tuesday: Basics of Using MindWing’s Digital Icons
MindWing has made its digital icons available at low cost to assist us as we are providing distance learning and teletherapy during this COVID-19 crisis (surely one of the biggest common kick-offs we have experienced). In this post, I’ll be outlining some what-tos and how-tos with the icons; if you’d like a longer visual overview, I recorded a webinar (Intersecting Story Grammar Marker® with Technology and Telepractice: Distance Learning During this COVID-19 Crisis and Beyond) with Maryellen on April 1, 2020 and the recording is available for free on the site.
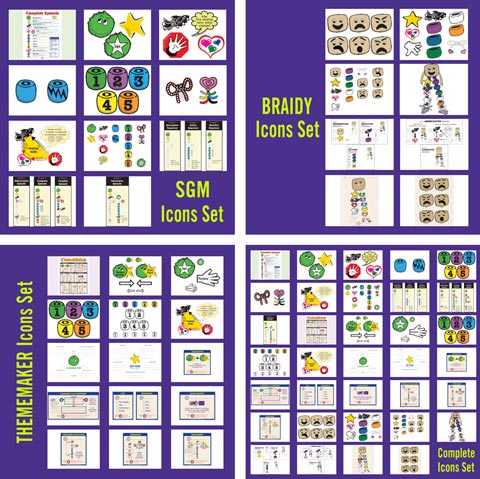
The icon products (see all here) are available in several tiers:
- The Story Grammar Marker® Digital Icons Set
- Braidy the StoryBraid® Digital Icons Set
- ThemeMaker (Expository) Digital Icons Set
- Universal Set containing all MindWing icons
 The Digital Icons downloadable is a PowerPoint (PPT) file that can also be opened in Apple (Mac)’s free Keynote application or uploaded to Google Drive and opened with Google Slides. PPT files open automatically in Keynote, but let’s tackle that Google part first.
First of all, I recommend that you go into the Settings of your Google Drive (upper right corner of Drive window) and set to convert uploaded files to Google Docs editor format (this includes Google Slides, their version of PPT):
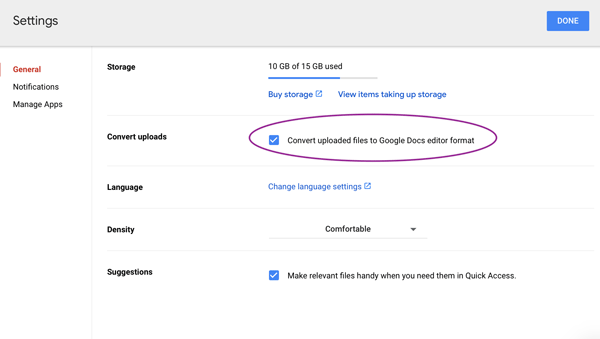
This strategy is useful as there is really no reason to upload a PPT to Google Drive except to view and edit it in Google format. PPTs uploaded to Drive can also be converted later to Slides by clicking on Open with...Google Slides at top center of screen after clicking to view a file in Drive.
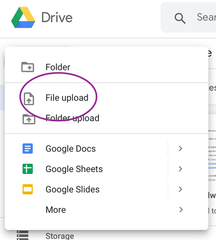 Once you have purchased the icons file of your choice from the MindWing website, you then will want to upload it to Google Drive (unless you are planning to use in actual PPT or Keynote, other options): Click New then File Upload. This puts the file in your Drive in clickable/editable format.
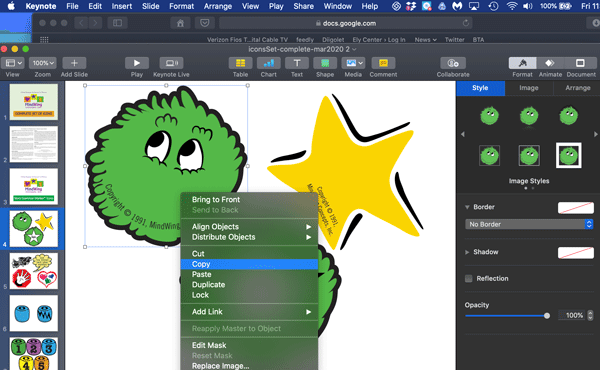
The main use of your icons will be to develop visuals for teletherapy and beyond—you can also look forward to using them perhaps in Smart Notebook when you are back in the classroom. The only skill needed here is to know how to select, copy and paste any icon or icons into a material you are developing. Click to select an icon, or you can select multiples. There are various ways to copy and paste. I will focus in the remainder of this post on what to copy and paste into and why.
Option 1: Paste Icons into a WORD PROCESSOR
MS Word, Mac Pages, Google Docs. You can paste one or many icons into a word processor for narrative mapping. This and the strategies below would be useful over telepractice platforms (e.g., Zoom, Google Hangouts Meet) while Screen Sharing to have a scaffolded interaction with a student to construct a story map.
If using Google Docs, you can share the document with the student and they can co-type with you, if you wish. In Zoom you can give Remote (Cursor/Keyboard) Control provided they are on a laptop or desktop (not Chromebook or iPad). Choosing a word processor has the advantage of easily using the application features to have them type a summary in paragraph form. Word Processors have the disadvantage of being harder to manipulate images (which the icons are) in conjunction with text.
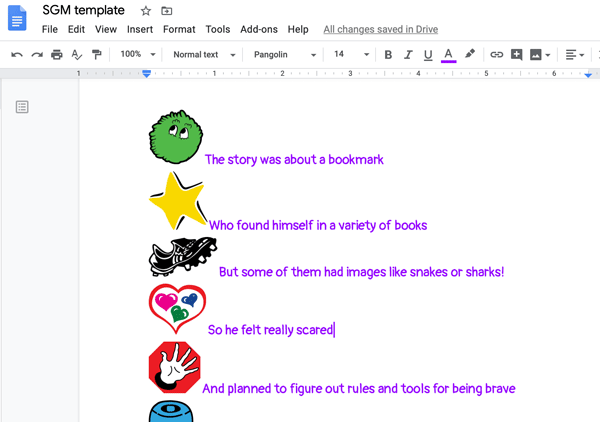
The story map above was created in telepractice using the book Get Me Out of This Book!, which is available for free to educators on EPIC! Books for Kids and is a great one to read during this frankly scary time.
Option 2: Paste Icons into a PRESENTATION CREATOR
MS PowerPoint, Mac Keynote, Google Slides. The same technique of Copy-Paste can be used with presentation applications. I always think of these more as a whiteboard than as a place for bullet points and lecturing in my clinical work. Presentation applications let you more easily use colored backgrounds flexibly along with images, including the icons and other images, to create a visual support for scaffolded narrative.
One strategy I like to use is to place images alongside shapes, e.g., rectangles, as these are type-able in presentation creators (no need to insert text boxes as well). Just use the Insert>Shape menu or the visual shapes in your application of choice.
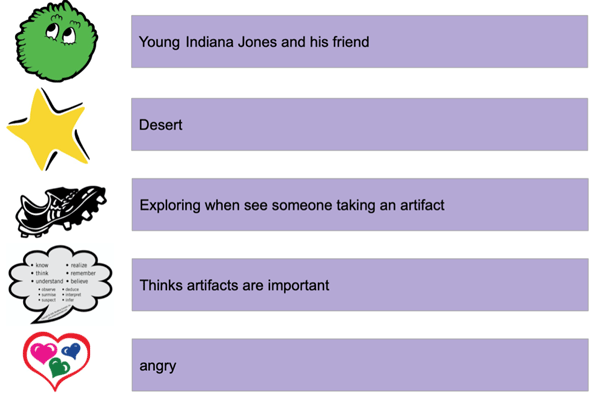
The above narrative map was created with students via teletherapy in conjunction with the fun wordless video “Lego Indiana Jones: The Original Adventures” (Cutscenes.)
I hope you find these strategies useful and are staying safe and sane through this challenging time.

Leave a comment.
Comments will be approved before showing up.